Condition:
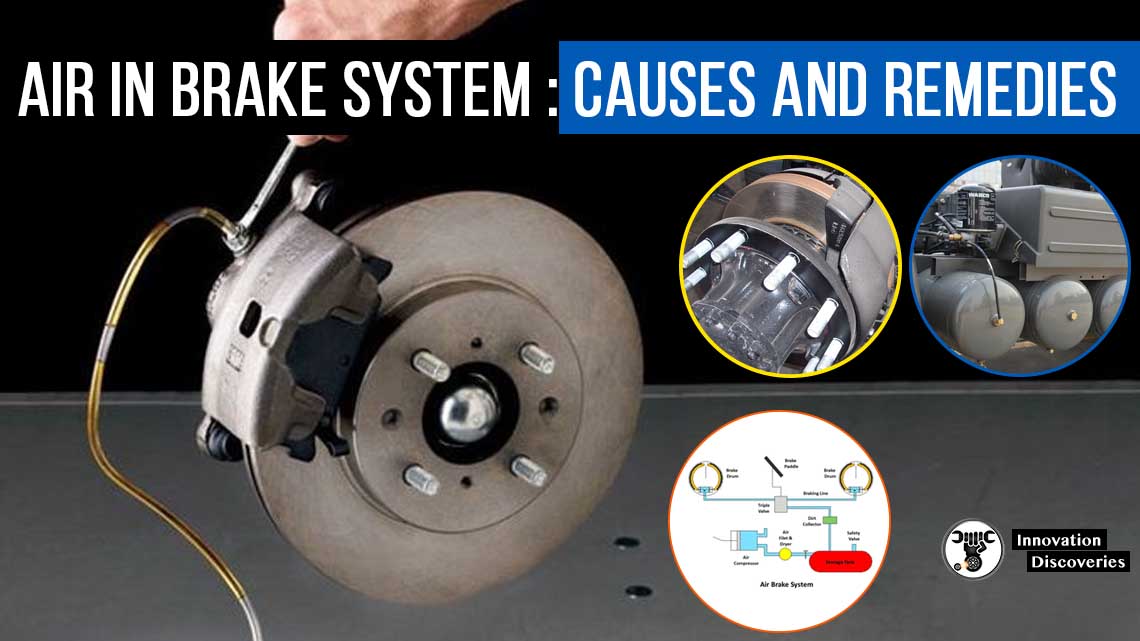
Bleeding your brakes is necessary when air has been introduced into the hydraulic system of your vehicle’s brake system.
Since air is compressible, the air in the hydraulic system can significantly reduce the effectiveness of your brake system.
Air can be introduced into your hydraulic system in one of two ways.
Leaks
Air can be introduced into your hydraulic system if there is a compromise of the system’s sealing.
This could be the result of a leak in the master cylinder, brake hoses, or calipers.
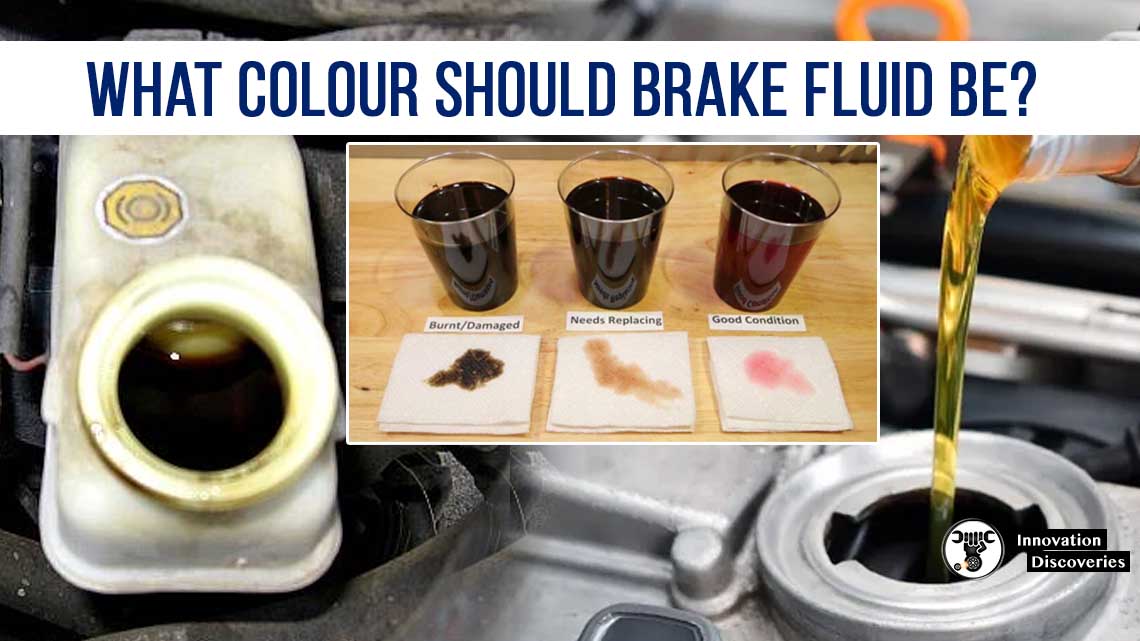
Old Brake Fluid
The most likely explanation is old brake fluid. Brake fluid is a hygroscopic liquid, meaning it is always absorbing moisture.
Over time and mileage, the moisture content of your brake fluid increases, which lowers the boiling point of the fluid.
If the fluid boils, vapor bubbles form in your hydraulic system.
If this happens, you need to bleed the old fluid out of the brake system and add new fluid.
Repair Procedure:
The three methods most commonly used to bleed brakes are:
- Manual Bleeding
- Pressure Bleeding
- Vacuum Bleeding
Make sure to bleed your brakes in the right sequence.
With ABS-equipped vehicles, you need to reference your vehicle’s service manual to determine the proper sequence.
If you are bleeding the brakes on a pre-ABS vehicle, start at the wheel furthest from the master cylinder and move your way towards the wheel closest to the master cylinder.
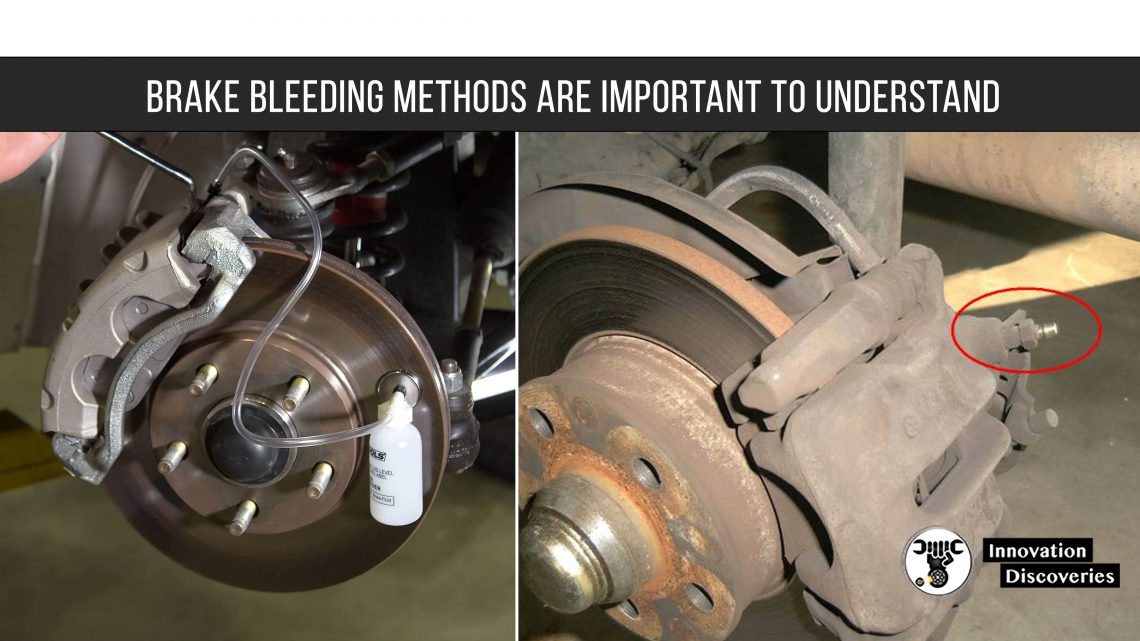
Recommendation: A placing a flexible clear tubing over the bleeder screw regardless of the method that you choose.
This allows you to see when the brake fluid is free of air bubbles during the bleeding process.
Finally, if you are bleeding the brakes on an ABS-equipped vehicle, you may have trouble removing all of the air from the hydraulic system.
If this is the case, you will have to use a scan tool to cycle the hydraulic control unit.
Manual Bleeding:
Manual bleeding is a tried and true method of bleeding your brakes.
However, it is a two-man job. An assistant needs to be in the driver’s seat to pump the brake pedal.
Bleeding Steps:
1. Place clear tubing over the bleeder screw.
2. Pump the brake pedal until it is firm and hold it in place.
3. Open the bleeder until the pedal is fully depressed to the floor.
4. Re-tighten the bleeder.
5. Release the pedal.
6. Repeat this process until the fluid is free of any air bubbles.
7. Repeat the entire process at each wheel in the proper sequence.
Make sure to keep an eye on the fluid level as you bleed the brakes and top off with fresh fluid regularly.
If you let the fluid level drop too low during bleeding, you run the risk of reintroducing air into your hydraulic system.
Pressure Bleeding:
Pressure bleeding is a good option if you are bleeding your brakes alone.
Pressure bleeders attach to the master cylinder and apply pressure to push the fluid out through the bleeder screw.
Testing Steps:
Before you pressure bleed the brakes, you want to test the pressure bleeder for leaks.
Don’t add any fluid to the pressure bleeder until you test for leaks.
1. Attach the cap to the master cylinder reservoir.
2. Pressurize the tank to 10psi.
3. Check the master cylinder and the pressure bleeder for any leaks.
4. Relieve the pressure by slowly removing the pump cap. Do not remove the reservoir cap before depressurizing.
Once you determine there are no leaks, continue with the bleeding process.
Bleeding Steps:
1. Fill the pressure bleeder with fluid.
2. Attach the cap to the master cylinder reservoir.
3. Pressurize the tank to around 15psi. Do not exceed 20psi.
4. Following the proper sequence, open the bleeder screw at each wheel and let the fluid bleed until it is free of air.
5. You may need to re-pressurize the bleeder a few times while bleeding.
5. Once you are finished bleeding, relieve the pressure by slowly removing the pump cap.
Don’t remove the reservoir cap before depressurizing.
Vacuum Bleeding:
Vacuum bleeding is also a good option if you are bleeding your brakes alone.
Vacuum bleeders attach to the bleeder screw and pull the fluid through the hydraulic system.
Bleeding Steps:
1. Place clear tubing on the bleeder screw.
2. Open the bleeder screw.
3. Apply the vacuum until the fluid is free of air bubbles.
4. Repeat process at each wheel.
Make sure to keep an eye on the fluid level as you bleed the brakes and top off with fresh fluid regularly.
If you let the fluid level drop too low during bleeding, you run the risk of reintroducing air into your hydraulic system.
Read More:
- HOW HYDRAULIC BRAKE WORKS?
- WHAT’S THE DIFFERENCE BETWEEN BRAKE SHOES AND BRAKE PADS?
- THE IMPORTANCE OF MEASURING BRAKE PAD THICKNESS
- ELECTRONIC BRAKEFORCE DISTRIBUTION (EBD)
AIR BRAKE ADJUSTMENT IN EASY STEPS
Read: TROUBLESHOOTING A HARD BRAKE PEDAL
Read More: WHAT’S THE DIFFERENCE BETWEEN BRAKE SHOES AND BRAKE PADS?
- RENEWING DRUM-BRAKE SHOES
- DIFFERENCE BETWEEN DRUM BRAKE AND DISC BRAKE
- WHAT IS BRAKE BOOSTER? HOW BRAKE BOOSTER WORKS?
- DISC BRAKES: CONSTRUCTION, WORKING PRINCIPLE, TYPES, AND ROTOR MATERIALS
Visit Forum
Visit Our Friendly Website


