Car headlights are a critical component of vehicle safety, ensuring that you can see and be seen, especially during nighttime or in low-visibility conditions.
However, over time, headlights can become dim, cloudy, or damaged, leading to the need for repair or replacement.
This article provides six killer tips for car headlight repair and installation to help you maintain clear and functional headlights.
Tips for Car Headlight Repair and Installation
1. Avoid Touching the Bulbs with Bare Hands
When replacing or installing car headlight bulbs, particularly halogen or HID (High-Intensity Discharge) types, it’s critical to avoid touching the glass surface with your fingers.
The oils and residue from your skin can create hot spots when the bulb is in use, leading to uneven heat distribution and potential early failure.
If you accidentally touch a bulb, it’s recommended to clean it with isopropyl alcohol and a lint-free cloth. This cleaning ensures that any contaminants are removed, reducing the risk of damage to the bulb.
Always wear gloves or use a clean cloth when handling bulbs, and consider keeping a spare set of gloves in your toolkit for this purpose.
2. Know the Location of Bolts in the Headlight Casing
Each car model has a unique headlight assembly, and bolt locations can vary significantly. Before you begin disassembling the headlight casing, take the time to familiarize yourself with your vehicle’s specific configuration.
Consult your vehicle’s manual, which usually provides diagrams of the headlight assembly and bolt placements.
Alternatively, online forums and YouTube videos can be excellent resources for finding step-by-step guides tailored to your car model.
Using the right tools for the job is equally important. A set of metric and standard wrenches and screwdrivers should cover most vehicles, but having a torque wrench can ensure you don’t overtighten bolts when reassembling.
3. Aim the Headlights Properly
After installing new headlights or adjusting existing ones, proper alignment is essential for both your safety and the safety of other drivers.
Misaligned headlights can cause glare, blinding oncoming traffic, or reduce your own visibility.
To aim your headlights, start by parking your car on a level surface about 25 feet from a flat wall or garage door. Use masking tape to mark the horizontal and vertical centers of the light beams.
Then, adjust the headlights using the alignment screws or bolts located on the headlight assembly. Aim them so that the top edge of the beam is at or just below the horizontal tape line and centered on the vertical tape line.
This ensures a clear and safe view of the road ahead without blinding other drivers.
4. Loosen the Bulb Retainer Carefully
Many headlight assemblies use retainers to hold the bulbs in place, and these can vary in design. Some use spring clips, while others use twist-lock mechanisms or screw-on retainers.
Applying excessive force or improper handling can break these components, leading to costly repairs or the need to replace the entire headlight assembly.
To avoid damage, follow the instructions in your vehicle’s manual for loosening the bulb retainer.
If you’re unsure about the correct method, consult online resources or seek guidance from a professional mechanic. Take your time and avoid rushing the process to prevent unintended damage.
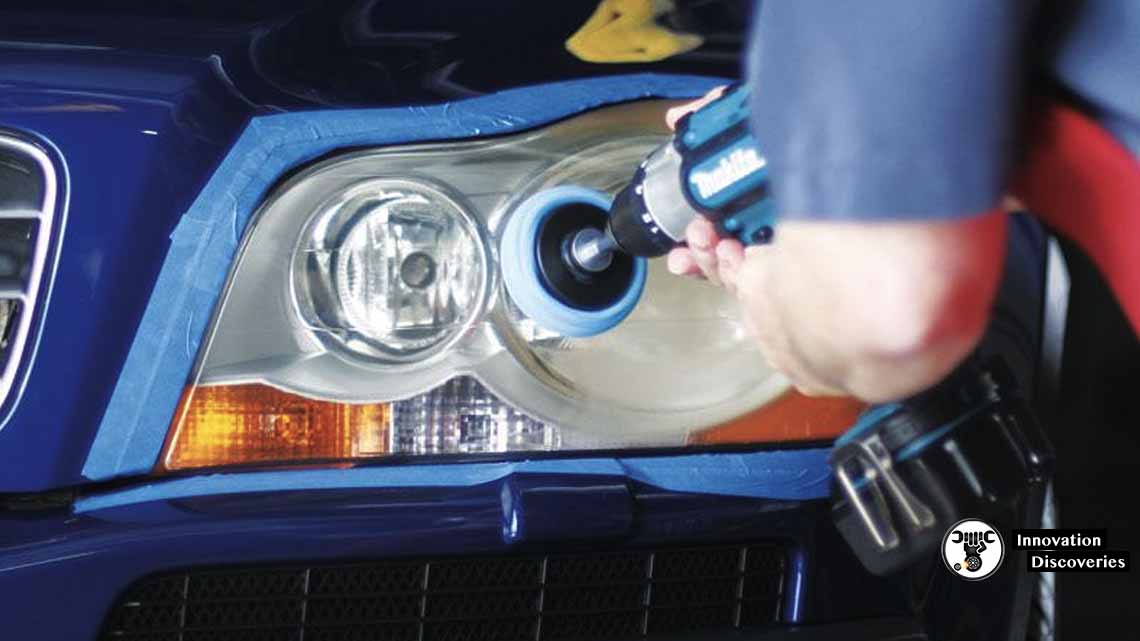
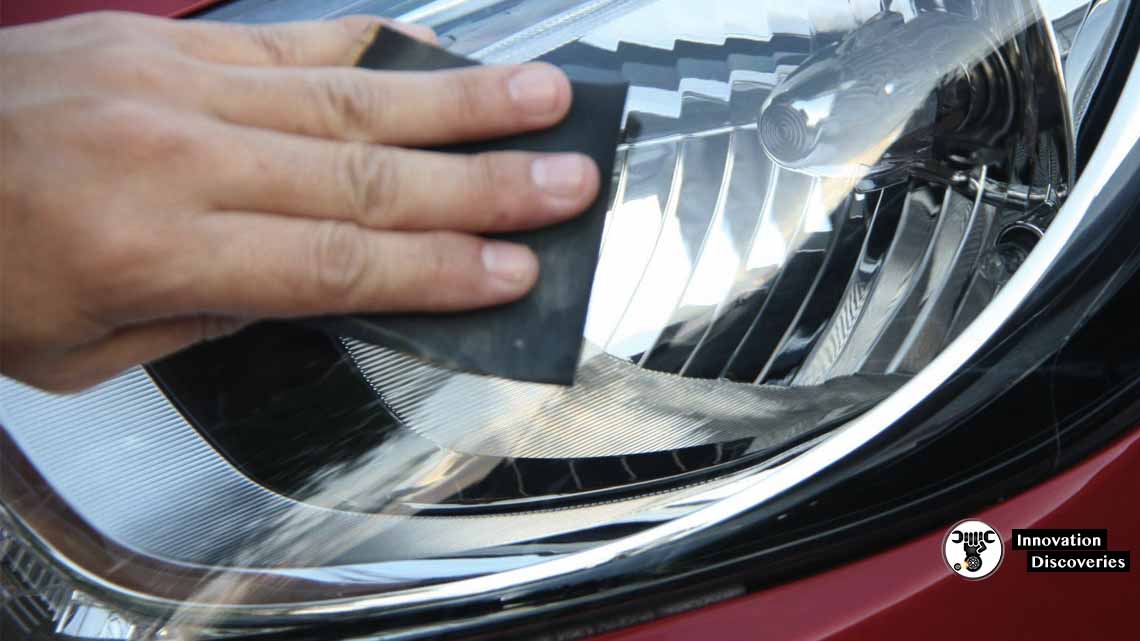
5. Mask Off the Surrounding Area While Cleaning
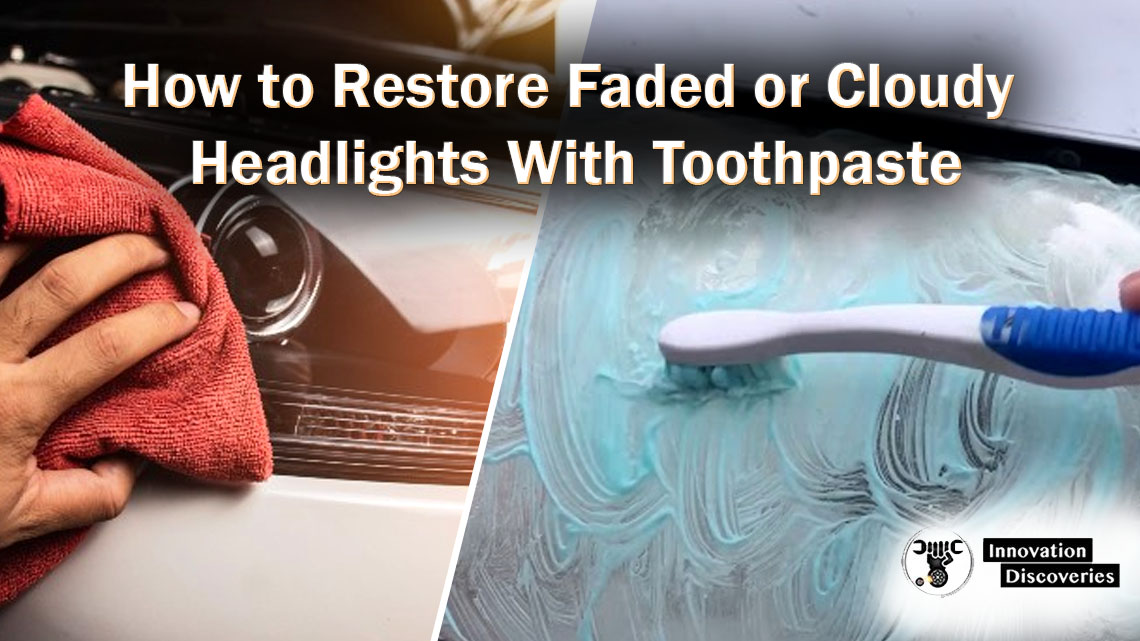
Over time, headlights can become cloudy, hazy, or yellowed due to oxidation, UV exposure, and environmental factors.
Headlight restoration kits can help restore clarity and improve light output.
Before starting the restoration process, use painter’s tape or masking tape to cover the areas surrounding the headlight.
This step prevents accidental scratches or damage to your car’s paintwork during sanding and polishing.
When using a headlight restoration kit, follow the instructions carefully. Generally, the process involves sanding, polishing, and applying a UV sealant to protect against future oxidation.
By masking off the surrounding areas, you ensure that the abrasive materials used in the process don’t come into contact with your car’s paint, keeping it safe from damage.
6. Consider Repair Before Replacement for Minor Cracks
If your headlight has a single crack or minor damage, you might be able to repair it rather than replacing the entire assembly.
Headlight adhesive repair kits are designed to seal small cracks and prevent moisture from entering the headlight, which can cause fogging or damage to internal components.
Before attempting any repair, assess the extent of the damage. If the crack is large or impacts the headlight’s functionality, replacement may be necessary.
However, for minor cracks, a simple adhesive repair can extend the life of your headlight and save you money.
Be sure to follow the instructions provided with the repair kit and allow sufficient time for the adhesive to cure before using the headlights.
Also, read – Car Talk | Driving Tips | Maintenance Tips
Conclusion
Car headlights are essential for safety and visibility on the road. By following these detailed tips for car headlight repair and installation, you can ensure that your headlights are in optimal condition.
From handling bulbs carefully to aiming headlights properly and considering repair options for minor cracks, these steps will help you maintain safe and functional headlights.
Remember, if you’re unsure about any step in the process, don’t hesitate to consult a professional mechanic or seek guidance from reliable online sources.
Proper maintenance and care can extend the life of your headlights and keep you safe on the road.
DISCOVER MORE:
Read: AIMING HEADLIGHTS: HOW TO GET THE PROPER ALIGNMENT

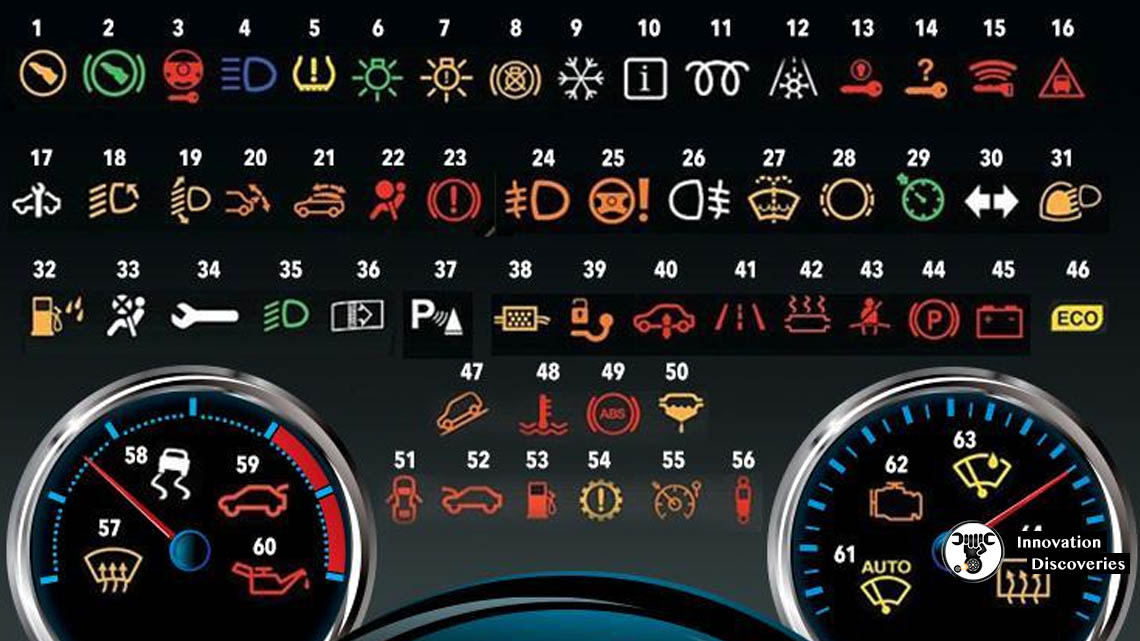
COMPLETE DASHBOARD LIGHT SYMBOLS


3 Comments