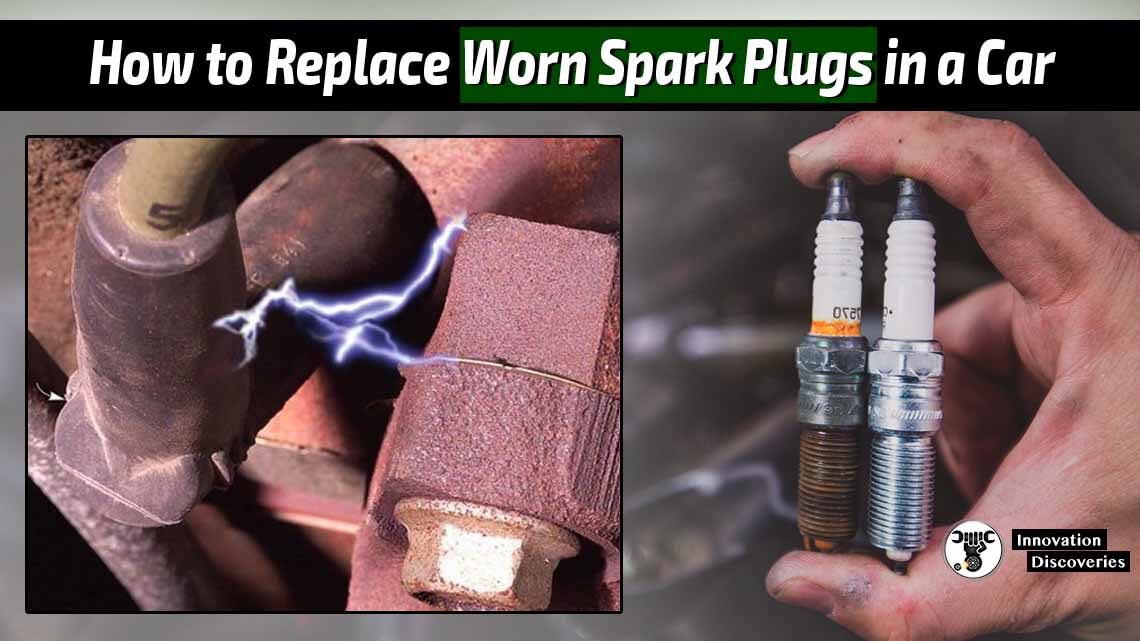
The spark plugs may not need any replacement but as a part of servicing the car, it is useful to know how to remove and inspect them.
Read More: Maintenance Tips
Checking and changing the spark plugs is an easy and quick task. Cleaning them will improve the performance and economy of the vehicle.
Follow the directions to replace worn-out spark plugs.
See More:
- IRIDIUM VS PLATINUM SPARK PLUGS
- COMMON SPARK PLUG MISFIRE SYMPTOMS
- DIFFERENCE BETWEEN HOT SPARK PLUG AND COLD SPARK PLUG EXPLAINED
- UNDERSTAND HOW TO READ THE SPARK PLUG COLOR
Directions
Step 1:
First, the spark plugs have to be located. They are found by locating the spark plug wire leading to the cylinder head. In case of more than one plug, write down or mark each plug wire before removing it.
Step 2:
The spark plug has to be cleaned before removing it. Any built-up dirt can fall into the cylinder when the plug is pulled out. Make sure that everything is clean and don’t let anything fall into the cylinder.
Step 3:
Put the spark plug socket and ratchet handle on the spark plug and turn it anti-clockwise for loosening it. Initially, it will be tight but will come out easily after that.
Step 4:
Inspect the electrode end of the plug and observe if there is any carbon buildup on it. If it is oily, then the rings are worn out. If the plug is tan, then the engine is properly working.
Step 5:
Make sure that the replacement plug and the old plug are of the same size. The threads should match and have the same length. In case you are unsure about the plug you should buy, just take the old plug to the auto store and consult the counter person.
Step 6:
The gap of the new plug has to be checked. The engine manufacturer’s specifications with explain it.
Step 7:
The plug has to be inserted back by hand into the cylinder head. Make sure the threads are lined up.
Step 8:
Use the socket and ratchet to tighten the plug. Tighten the plug to the torque specification directed by the repair manual. The auto parts store worker can guide you regarding the torque specification for your vehicle.
Step 9:
Now the plug wires can be put back on the correct plugs. They have to be snapped on and not pulled off.
See More:


