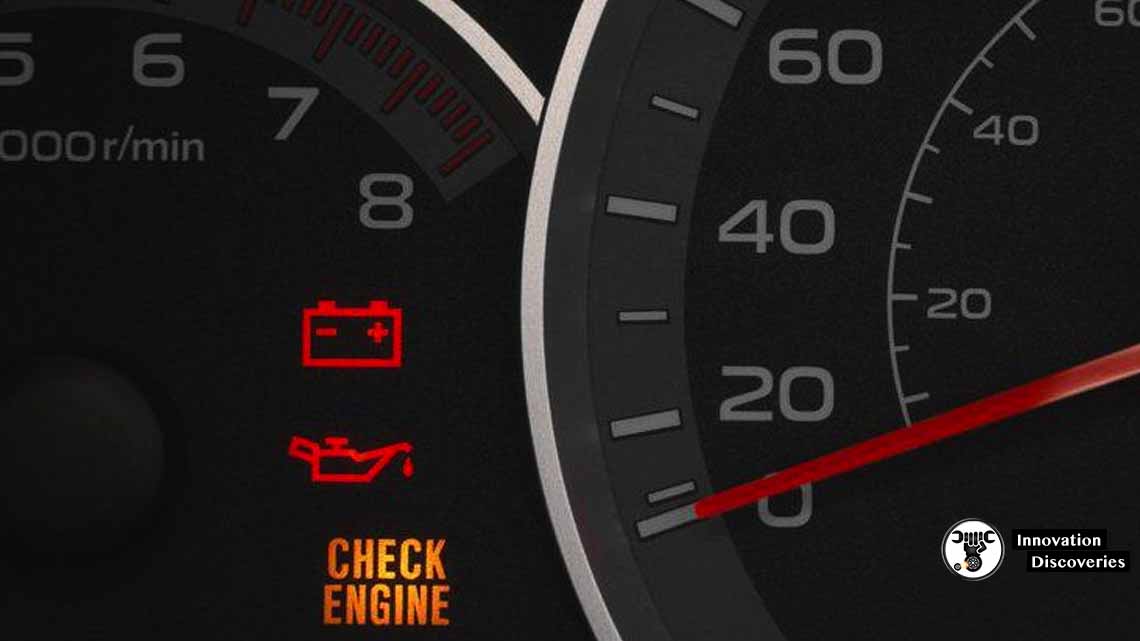
The check engine light comes on when your car’s computer detects an issue within the powertrain. It can indicate a major or minor complication,
But ignoring it makes the problem worse,
Leading to costly damage and repair. You can avoid all the hassles if you know the reasons for the light coming on. Nevertheless, it sometimes does not turn off despite solving the glitch. In that case, you will need to know how to reset Check Engine Light. Let’s check out the article below.
How to Reset Check Engine Light: 4 Easy Way to Do
Most drivers feel annoyed if the red light of the Check Engine Indicator;
Still does not go away even the fault of the car was fixed. In this case, your vehicle’s computer is at fault and it needs a little fix to resolve the issue.
Check this video to find out how to do these steps properly!
1. Use A Scan Tool
Using a scan tool is the easiest way to check engine light reset. If you wonder to know
How to turn off check engine light in this way, here are 3 steps for you.
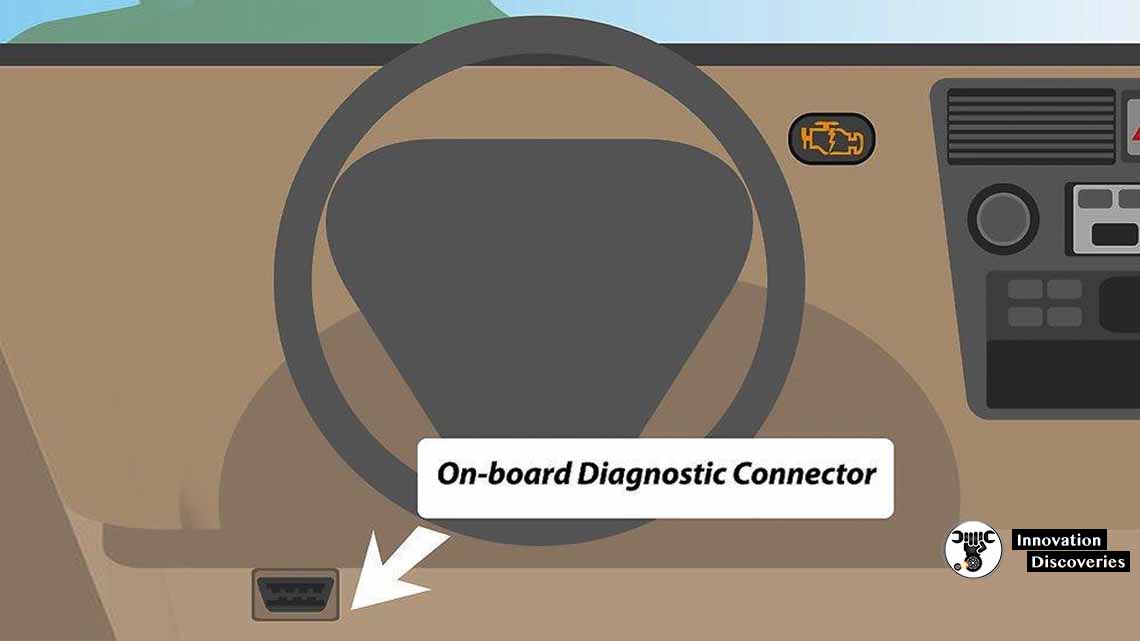
Step 1: Connect the scan tool to the OBD – II
Connecting the scan tool to the OBD- II
(Onboard diagnostic connector) under your steering column. Then you turn the ignition switch to ON and don’t forget to turn off all gadgets.
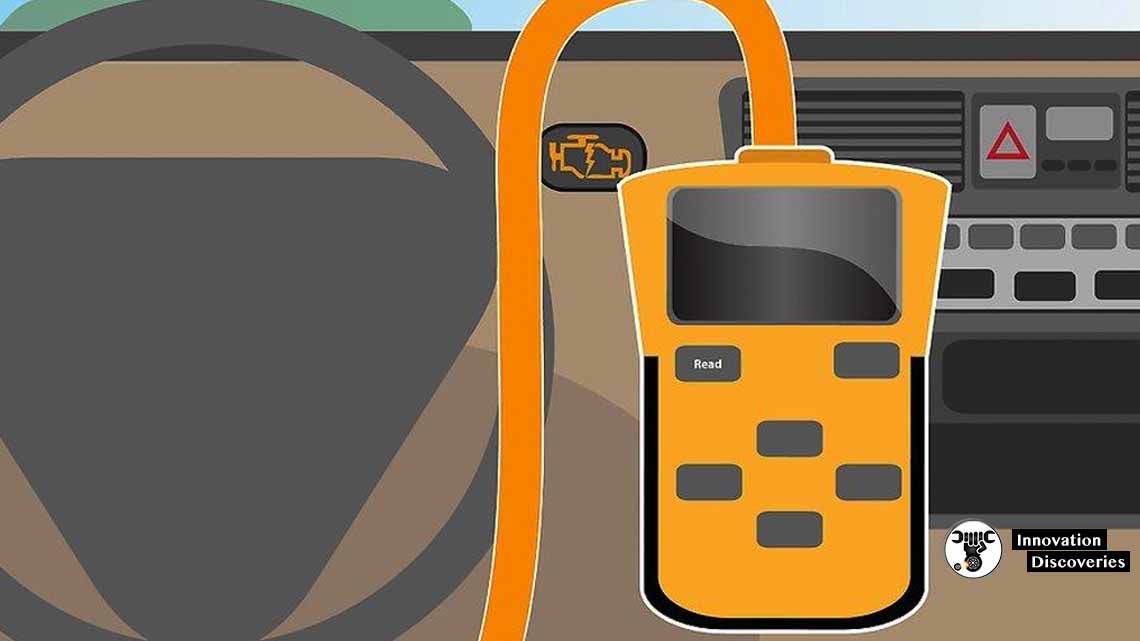
Step 2: View error codes by pressing the “READ” button
Pressing the “READ” button on the scan tool to see the error codes of the engine.
You should need a pen to write down the code or codes in the order
They were received for future repairs or references if needed.
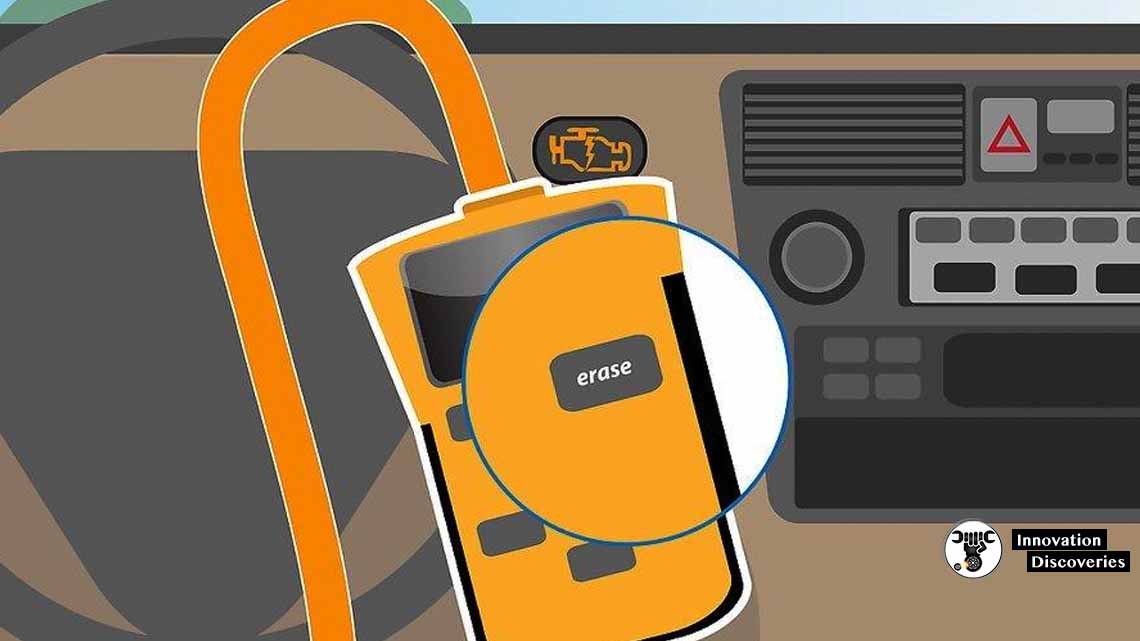
Step 3: Remove the error code
Pressing the “ERASE” button on the scan tool to remove the error code. The Check Engine Light will turn off if all error codes are cleared.
Some scan tools have many capabilities such as freeze-frame that notes some sensor
Readings, when a code was set and removing the codes, will also remove this file.
Note: In some scanners, they might have an automatic option and a “CLEAR” or “YES”
Button instead of the “ ERASE” button.
Don’t forget to turn on the ignition before deleting the codes.
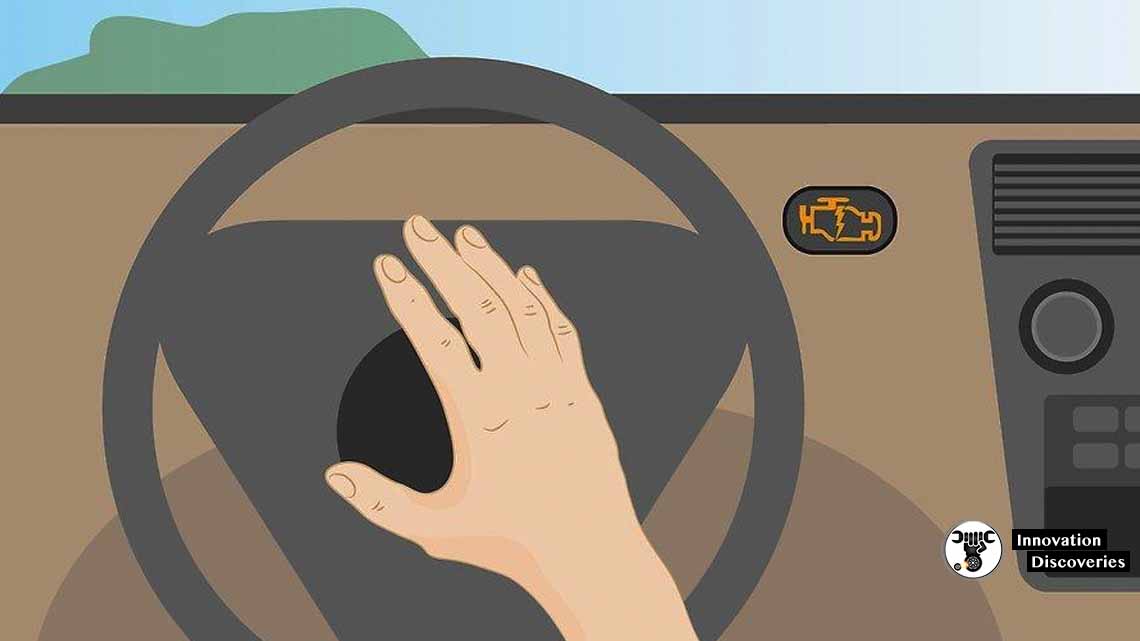
2. Apply The Battery Disconnecting Technique
Using the battery disconnecting technique is an old way to reset check engine light. Here are 3 steps to help you know how to reset check engine light by this method.
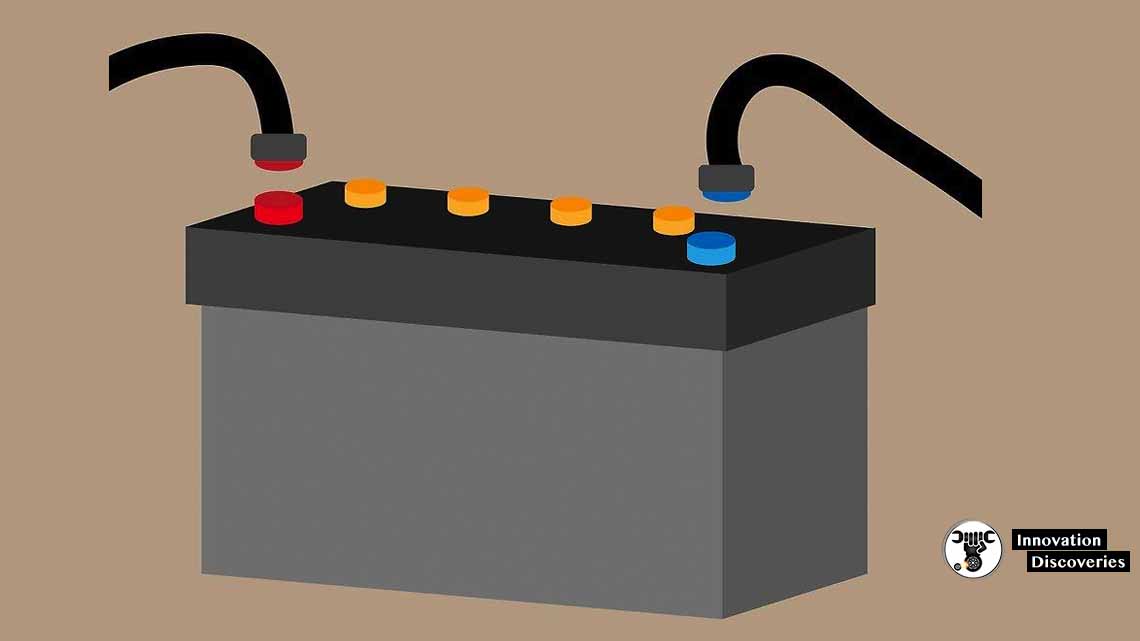
Step 1: Disconnecting car battery cables
In this step, you should use a wrench to remove positive and negative cables.
Step 2: Draining remaining electricity
Next thing you should do is to press and hold the car horn for about 30 seconds. This action will help to drain any.
electricity from your car capacitor.
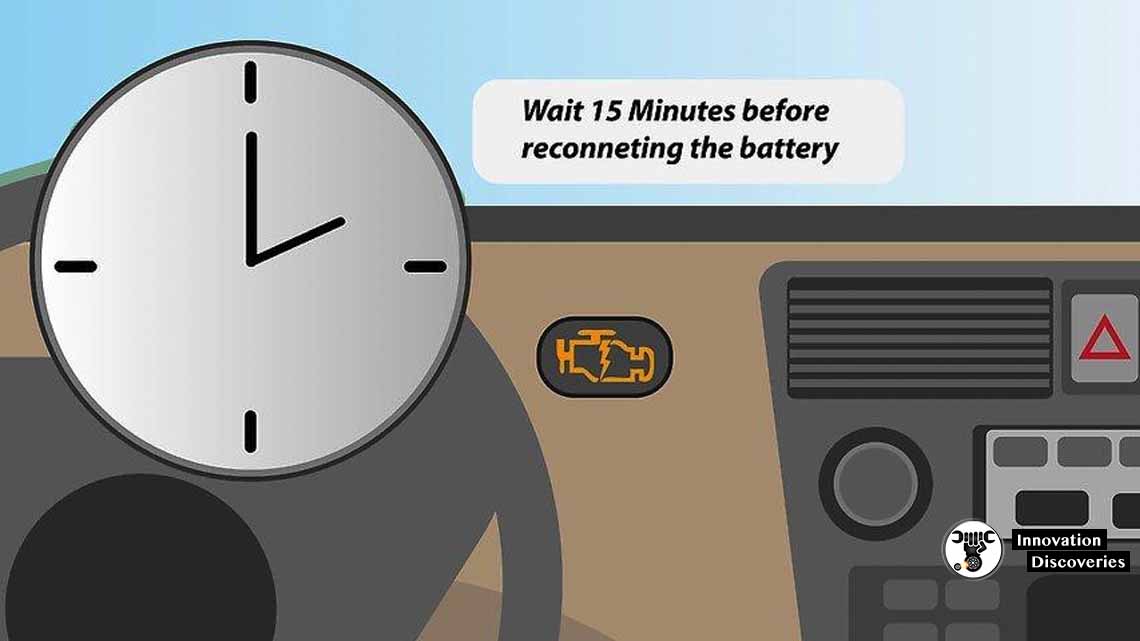
Step 3: Waiting and reconnecting the battery
After disconnecting the battery cables and draining the remaining electricity,
All you have to do is to wait about 15 minutes then re-install the car battery cables. The error codes should be deleted which will cause the engine light to turn off.
(Note: this method may not work on all car computers).
In case, the car battery is disconnected and the light comes right back on,
This may show an active problem and should be addressed and fixed.
3. Turn The Ignition On And Off
It’s a repeat of the previous technique without disconnecting the battery.
You just have to put the key into the ignition and turn it on and;
Off for three times in a row with the gap of a second in each step.
After you are done, drive the car to see if the light is reset.
4. Let the Check Engine Light Go Off By Itself
Another way of how to reset check engine light is by letting it go off by itself.
It’s an easy process because you need to do practically nothing except for,
Driving the vehicle as usual. The computer system in most cars keeps rechecking the problems,
That activates the light in the first place. If it’s a minor issue such as a glitch in the mass airflow or O2 sensor,
It may fix automatically,
And the light will go dark.
However, if it still stares at you after three days,
You have to apply the methods mentioned above to reset it.
Read More:
- Mechanical Engineering Drawings: Guide to understanding & working with them
- Ultimate Guide to Writing an Engineering Journal Paper
- The engine – how it drives its ancillary parts
What If The Check Engine Light Returns?
It can come back within a few days or weeks,
which may signal a major complication.
If it keeps happening despite following the resetting procedures,
You should take the car to a service center and have it diagnoses by a professional mechanic. Such a repair shop uses more sophisticated tools to find out the exact problems.
Hopefully, you may know how to reset check engine light by,
DIY methods through this article. If you have any question,
Leave us a comment on the box bellow, we will answer it for you.

5 Comments