Introduction:
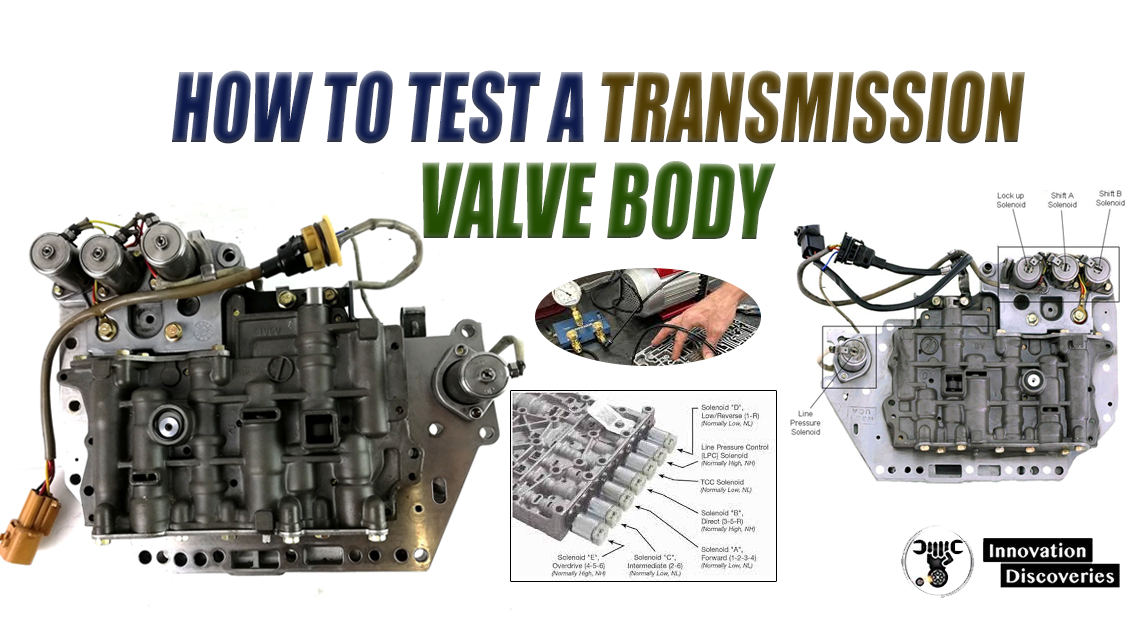
The transmission valve body is the brain of your vehicle’s transmission system, controlling the flow of hydraulic fluid and directing gear shifts. When issues arise with your transmission, it’s crucial to diagnose the problem accurately to avoid costly repairs or replacements.
In this guide, we’ll delve into the step-by-step process of testing a transmission valve body, empowering you to troubleshoot with confidence and precision.
Identify the Problem:
Before diving into testing the valve body, it’s essential to identify the symptoms indicating a potential issue. Common signs of a faulty transmission valve body include erratic shifting, delayed engagement, or harsh gear changes. Once you’ve recognized these symptoms, it’s time to move onto testing.
Perform the Vacuum Test:
One of the most effective methods for testing a transmission valve body is the vacuum test. Here’s how to perform it:
- Prepare Your Tools: Gather a vacuum gauge, a vacuum pump, and a service manual for your vehicle.
- Locate the Vacuum Modulator: The vacuum modulator is typically located on the transmission case and connected to the valve body.
- Disconnect the Vacuum Line: Remove the vacuum line connected to the modulator.
- Connect the Gauge: Attach the vacuum gauge to the modulator port.
- Pump the Vacuum: Use the vacuum pump to apply vacuum pressure to the modulator.
- Observe the Gauge: A steady vacuum reading within the manufacturer’s specified range indicates proper valve body function. Fluctuating or no vacuum suggests a malfunctioning valve body that requires further inspection or replacement.
Disassemble the Transmission: If the vacuum test indicates a faulty valve body, the next step is to disassemble the transmission for a more thorough examination.
Follow these steps:
- Secure the Vehicle: Park the vehicle on a level surface and engage the parking brake.
- Disconnect the Battery: Ensure safety by disconnecting the battery to prevent electrical accidents.
- Drain Transmission Fluid: Remove the transmission pan and drain the fluid into a suitable container.
- Remove Valve Body: Carefully remove the valve body from the transmission case, taking note of its orientation and the position of each component.
- Inspect for Damage: Examine the valve body for signs of wear, damage, or debris accumulation. Pay close attention to valve bores, seals, and gaskets.
- Clean and Replace Components: Clean the valve body and its components thoroughly using a suitable solvent. Replace any damaged or worn parts as necessary.
Tips:
- Consult the Service Manual: Always refer to the manufacturer’s service manual for detailed instructions specific to your vehicle.
- Take Precautions: Handle transmission components with care to avoid damage or contamination.
- Seek Professional Assistance: If you’re unsure or uncomfortable with the testing process, don’t hesitate to seek assistance from a qualified mechanic.
Conclusion:
Testing a transmission valve body is a crucial aspect of transmission maintenance, allowing you to diagnose issues accurately and prevent costly repairs.
By following the steps outlined in this guide and exercising caution, you can test your transmission valve body like a seasoned professional.
Remember, regular maintenance and prompt repairs are key to ensuring the longevity and performance of your vehicle’s transmission system.
Discover More:
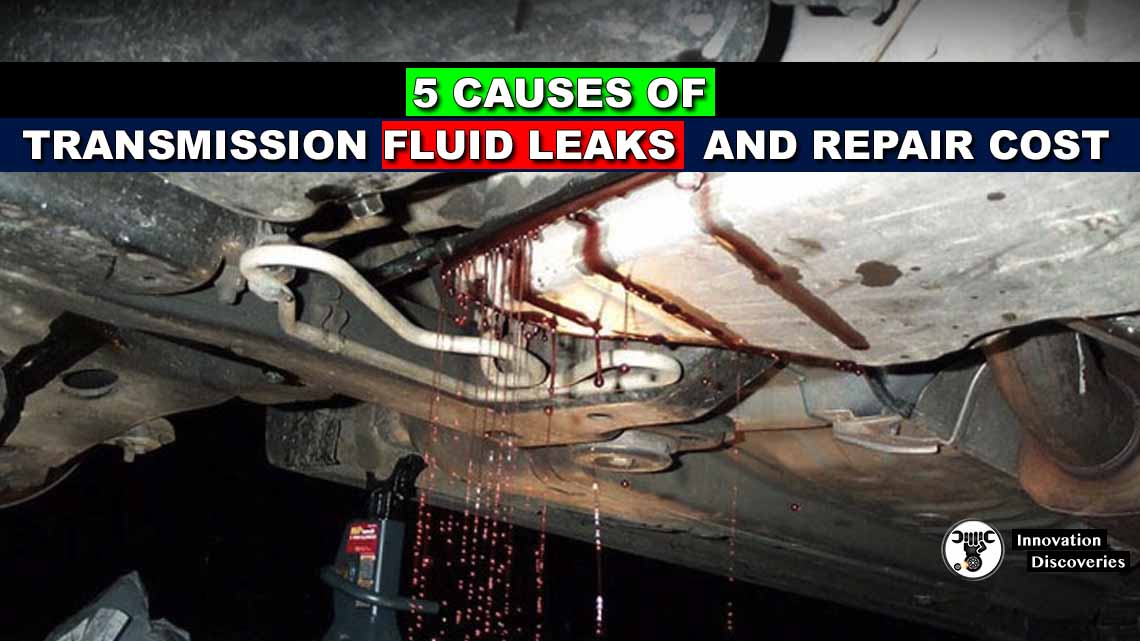
RAED MORE: 5 CAUSES OF TRANSMISSION FLUID LEAKS AND REPAIR COST
- 3 COMMON SYMPTOMS OF LOW POWER STEERING FLUID
- YOUR CAR IS LOSING COOLANT BUT NO LEAK: WHAT SHOULD YOU DO?


FOR MORE KNOWLEDGE
- 4 COMMON SYMPTOMS OF AUTOMATIC TRANSMISSION PROBLEMS
- COMMON PARTS OF AN AUTOMATIC TRANSMISSION
- COMMON FAULTS IN THE 6-SPEED DSG TRANSMISSION
- IS REBUILDING A TRANSMISSION WORTH IT IN THE LONG RUN?