Introduction
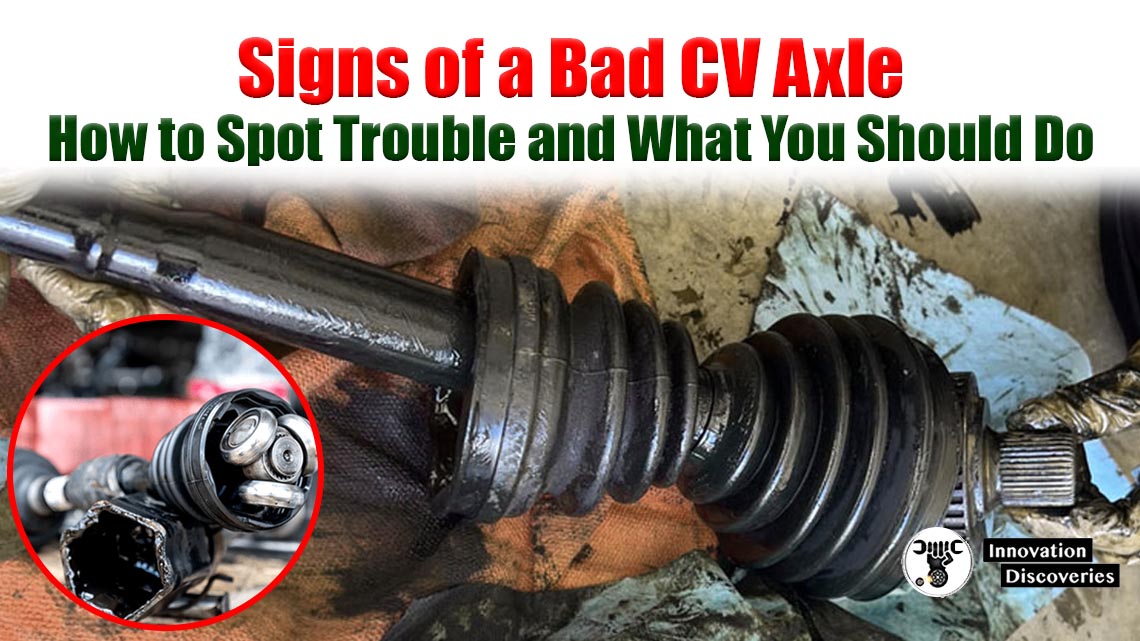
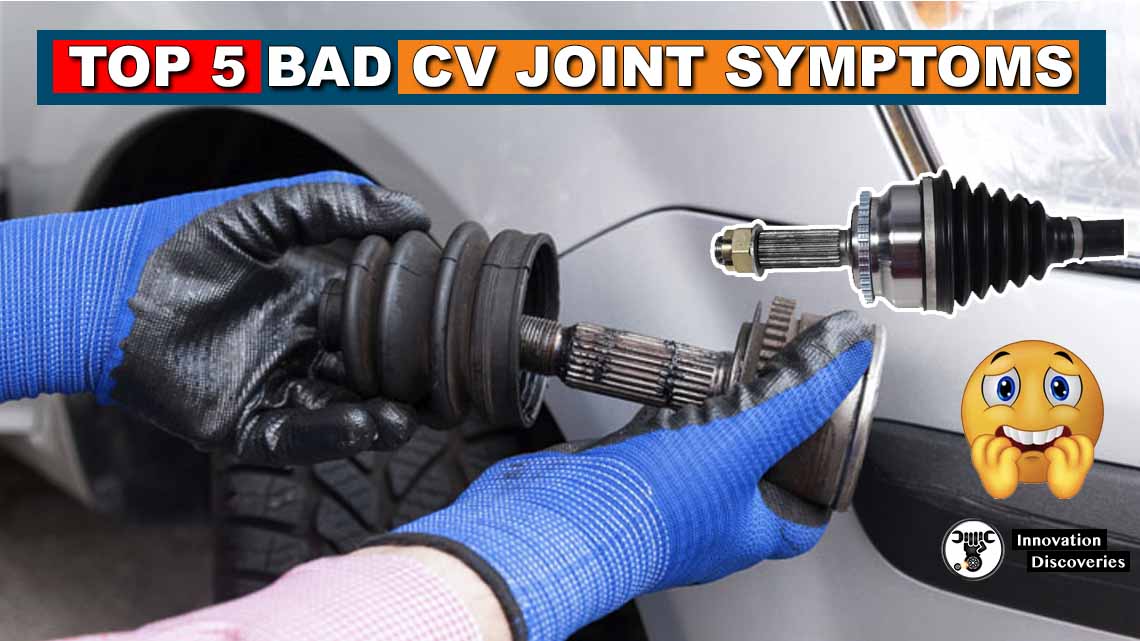
Constant Velocity (CV) axle shafts are crucial components in your vehicle’s drivetrain, allowing for smooth transmission of power to the wheels while accommodating the up-and-down motion of the suspension.
Regular inspection of the CV axle shaft can help you identify potential issues early, ensuring your vehicle remains safe and functional.
This detailed guide will walk you through the inspection process, providing professional-level insights that even novice car owners can follow.
Tools and Materials You’ll Need
Before you begin, gather the following tools and materials:
- Jack and jack stands
- Wheel chocks
- Lug wrench
- Flashlight or work light
- Gloves
- Safety glasses
- Clean cloth or paper towels
Step-by-Step Inspection Guide
1. Preparation and Safety
a. Park Safely
- Park your vehicle on a flat, stable surface.
- Engage the parking brake and place wheel chocks behind the rear wheels to prevent the vehicle from rolling.
b. Lift the Vehicle
- Use a jack to lift the front of the vehicle. Refer to your vehicle’s manual for proper jack points.
- Secure the vehicle with jack stands for safety.
c. Remove the Wheel
- Use a lug wrench to remove the lug nuts and take off the front wheel. This will give you clear access to the CV axle shaft.
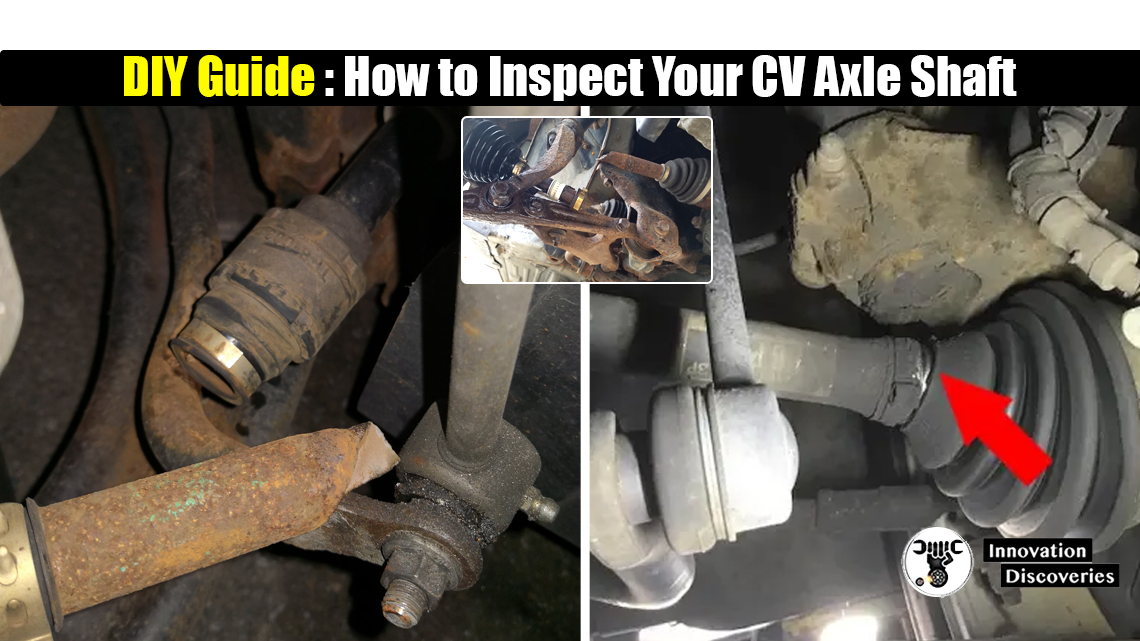
2. Visual Inspection of the CV Boot
The CV boot is a rubber cover that protects the CV joint. A damaged boot can lead to joint failure.
a. Inspect for Tears and Cracks
- Examine the CV boot for any visible tears, cracks, or holes. Use a flashlight to get a good view of the entire boot.
b. Check for Grease Leaks
- Look for grease around the CV boot or on the inside of the wheel. Grease leakage is a sign that the boot is damaged and the CV joint might be at risk.
c. Feel for Soft Spots
- Gently press on the CV boot. It should feel firm and flexible. Soft spots or excessive pliability can indicate deterioration.
3. Physical Inspection of the CV Joint
a. Check for Play and Movement
- Grab the CV axle shaft near the joint and try to move it up and down or side to side. There should be minimal movement. Excessive play indicates a worn joint.
b. Listen for Unusual Noises
- Rotate the axle shaft by hand and listen for any clicking, grinding, or popping sounds. These noises can indicate internal damage to the CV joint.
4. Road Test for Functional Symptoms
a. Perform Slow Turns
- After reassembling the wheel and safely lowering the vehicle, take your car for a short drive.
- Listen for clicking noises when making sharp turns at low speeds. This is a common symptom of a failing CV joint.
b. Monitor for Vibrations
- Pay attention to any unusual vibrations during acceleration. Vibrations can indicate a misaligned or damaged CV axle.
5. Reassemble and Final Check
a. Reattach the Wheel
- Place the wheel back onto the hub and tighten the lug nuts by hand.
b. Lower the Vehicle
- Carefully remove the jack stands and lower the vehicle using the jack.
c. Tighten the Lug Nuts
- Use a lug wrench to fully tighten the lug nuts in a star pattern to ensure even pressure.
d. Final Inspection
- Give one last check around the CV axle and the wheel area for any signs of issues.
Maintenance Tips to Extend CV Axle Life
- Regular Inspections: Incorporate CV axle inspections into your regular vehicle maintenance routine.
- Prompt Repairs: Address any issues with the CV boot or joint immediately to prevent further damage.
- Avoid Potholes and Rough Roads: Minimizing exposure to harsh driving conditions can prolong the life of your CV axle shafts.
Conclusion
Regular inspection of your CV axle shafts can save you from unexpected breakdowns and costly repairs. By following this detailed guide, you can confidently check the condition of your CV axle shafts and ensure your vehicle remains in optimal working condition.
Remember, if you find any significant damage or are unsure about the inspection process, consult a professional mechanic for further assistance.
Discover More:
Read More:
- Symptoms Of A Blown Head Gasket? How To Prevent And Fix It
- 5 Things You Should Never Do In A Dual Clutch Transmission Vehicle
- Can You Drive A Car With Bad Motor Mount?
- Top 10 Car Noises That Should Never Be Ignored
- Top 10 Reasons Why Diesel Engines are not Used in Bikes?
- 5 Causes of an Alternator Not Charging
Discover More:

Read More:
- HOW CAR SPRINGS AND DAMPERS WORK
- HOW AIR SUSPENSION SYSTEMS WORK
- 5 SUSPENSION MODS YOU SHOULD NEVER DO TO YOUR CAR
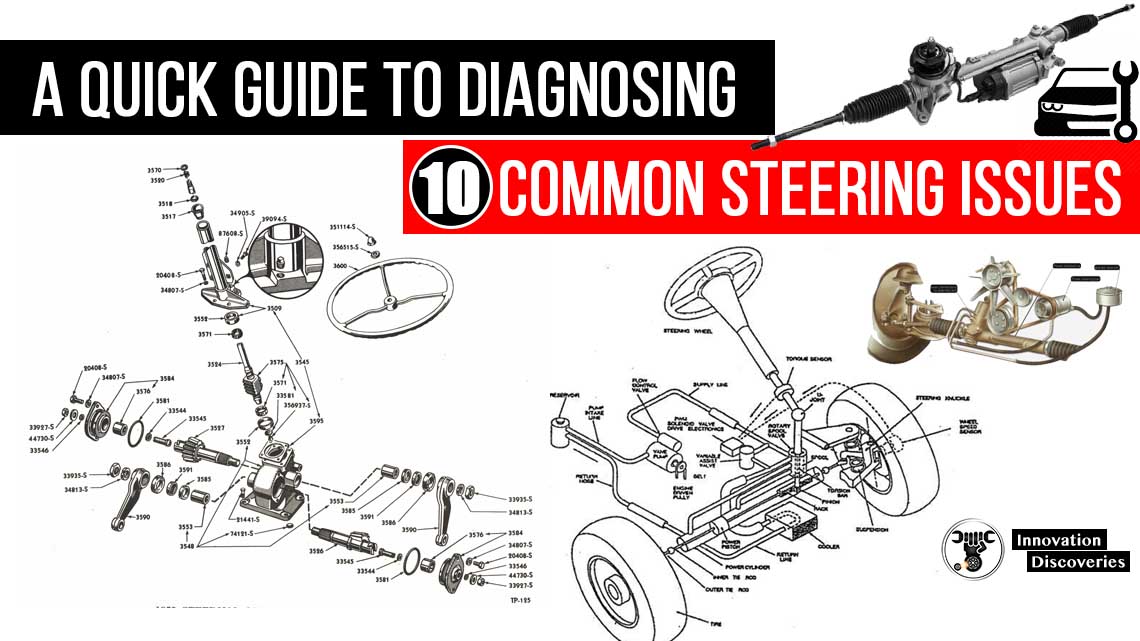
- A QUICK GUIDE TO DIAGNOSING 10 COMMON STEERING ISSUES
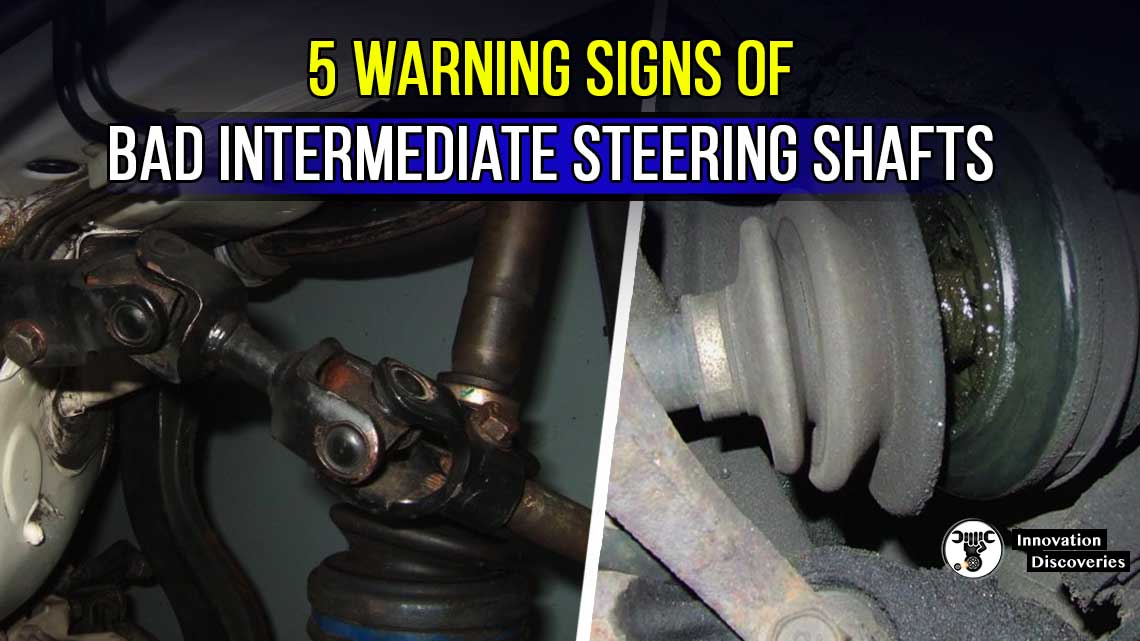
- 5 WARNING SIGNS OF BAD INTERMEDIATE STEERING SHAFTS
- 3 COMMON SYMPTOMS OF LOW POWER STEERING FLUID
- ELECTRIC VS HYDRAULIC POWER STEERING
- HOW POWER STEERING WORKS?
- STEERING SYSTEM: REQUIREMENTS, TYPES, POWER STEER