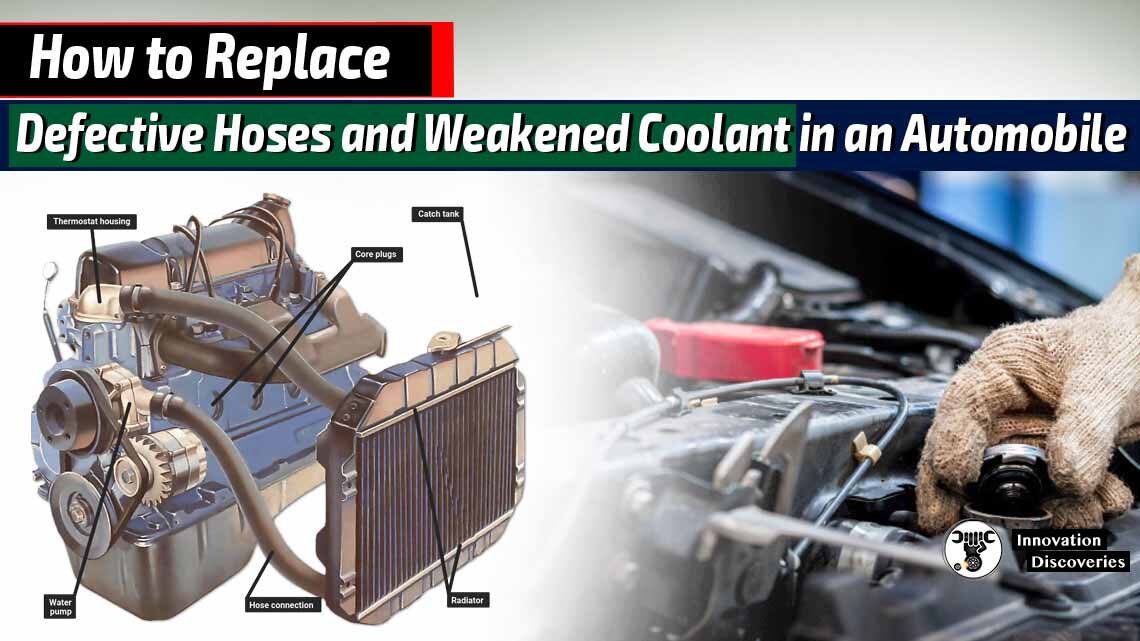
Introduction
Maintaining the cooling system of your automobile is crucial for preventing engine overheating and potential damage. Defective hoses and weakened coolant can lead to cooling system inefficiencies.
In this guide, we will walk you through the process of replacing these components to ensure your vehicle’s optimal performance.
Safety precautions
Before starting any work on your vehicle, it’s essential to prioritize safety. Here are some precautions to take:
1. Allow the Engine to Cool:
Working on a hot engine can lead to burns. Ensure the engine has cooled down before beginning any work.
2. Wear Protective Gear:
Put on gloves and safety goggles to protect yourself from coolant spills and sharp edges.
3. Work in a Well-Ventilated Area:
Perform the replacement in a well-ventilated area to avoid inhaling harmful fumes.
4. Disconnect the Battery:
If you’re working near electrical components, disconnect the negative terminal of the battery to prevent electrical mishaps.
Safety checks
Before proceeding with the replacement, conduct these safety checks:
1. Ensure the Engine is Off:
Make sure the engine is completely turned off and the ignition key is removed.
2. Release Pressure:
If the engine is still warm, carefully release pressure from the cooling system using the pressure relief valve on the radiator cap.
Directions
1: The clamps and hoses should be inspected
Start by inspecting the clamps and hoses for visible signs of damage, such as cracks, leaks, or bulges. If you notice any issues, it’s time to replace them.
2: Removing the hose
Follow these steps to remove the defective hose:
a. Loosen the hose clamps: Use a screwdriver or pliers to loosen the clamps on both ends of the hose.
b. Twist and pull: Gently twist and pull the hose from the fittings. If it’s stuck, you can use a hose removal tool to help loosen it.
3: Verify the replacement
Compare the new hose with the old one to ensure they have the same length and bends. This will help prevent installation issues later.
4: Refit the hose
Install the new hose by following these steps:
a. Apply lubricant: Lightly apply coolant or a lubricant to the hose ends to ease installation.
b. Slide the hose: Slide the new hose onto the fittings, ensuring it’s properly seated.
c. Tighten clamps: Tighten the hose clamps securely using the appropriate tool. Make sure they’re snug but not over-tightened, as this can damage the hose.
5: Refill cooling system and check
Complete the process by refilling the cooling system with the manufacturer-recommended coolant. Follow these steps:
a. Open the radiator cap: Open the radiator cap and pour in the coolant mixture until the level reaches the specified level.
b. Burp the system: Start the engine and let it idle. As the engine warms up, air bubbles may escape. Add more coolant as needed to maintain the proper level.
Extra Tips:
- Dispose of old coolant properly. It’s harmful to the environment and should be taken to a recycling center.
- Regularly inspect hoses and clamps during routine maintenance to catch issues early.
- Use the appropriate type of coolant recommended by your vehicle’s manufacturer.
Conclusion:
Replacing defective hoses and weakened coolant in your automobile is a task that promotes engine longevity and reliable performance. By following these steps and adhering to safety precautions, you can successfully complete this process and ensure your vehicle runs smoothly.
If you’re unsure or uncomfortable performing this task yourself, it’s always best to seek the help of a professional mechanic.
Read More:
- THE POTENTIAL CONSEQUENCES OF OVERFILLED COOLANT RESERVOIR TANK
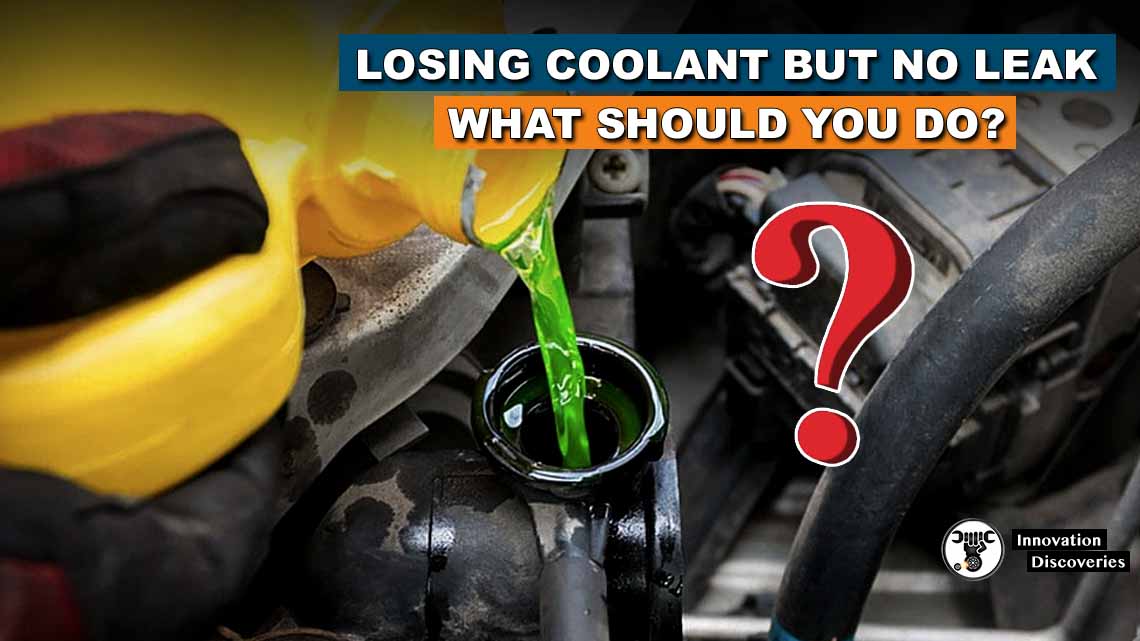
- YOUR CAR IS LOSING COOLANT BUT NO LEAK: WHAT SHOULD YOU DO?
- CHECKING AND TOPPING UP CAR ANTIFREEZE COOLANT
- HOW TO CHANGE COOLING-FAN SWITCH IN YOUR VEHICLE

2 Comments